


Windshield molding replacement is a specialized vehicle repair process focusing on the rubber or plastic trim around a car's windshield, requiring precision and expertise for seamless integration and structural integrity. Key steps include assessing damage, removing old molding, inserting new pieces cut to match vehicle contours, trimming, securing with fasteners, and using high-quality, manufacturer-approved parts along with advanced adhesives and sealing methods. This intricate auto bodywork involves laser cutting and state-of-the-art equipment for a factory-like finish that enhances both safety and aesthetics. DIY enthusiasts can follow a systematic approach with proper tools and training, while complex cases may require professional consultation.
“Looking to replace your vehicle’s windshield molding? This comprehensive guide breaks down the process step by step, ensuring a smooth and efficient upgrade. From understanding the basics of windshield molding replacement to choosing the right materials for modern cars, we’ve got you covered. Learn how to navigate this process safely and effectively, enhancing both the aesthetics and functionality of your vehicle.”
- Understanding Windshield Molding Replacement: The Basics
- Choosing the Right Materials and Techniques for Modern Cars
- Step-by-Step Guide: Replacing Your Vehicle's Windshield Molding Efficiently
Understanding Windshield Molding Replacement: The Basics
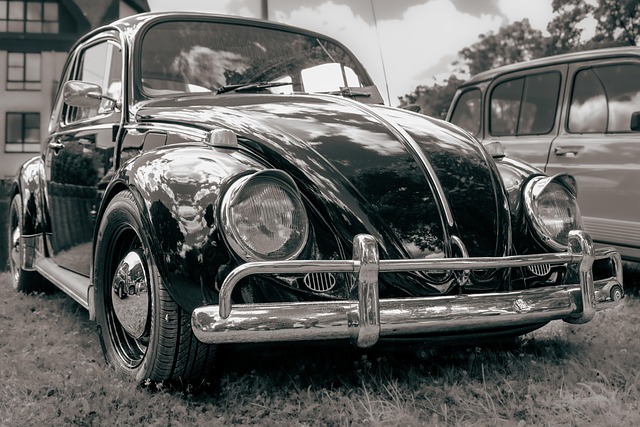
Windshield molding replacement is a specialized process within the broader field of vehicle repair and bodywork. It involves the careful removal and replacement of the rubber or plastic trim that encircles a vehicle’s windshield, providing both an aesthetic finish and functional protection. This task requires precision and expertise as it ensures the new molding seamlessly integrates with the existing car components, maintaining the structural integrity of the vehicle.
The process begins by assessing the damage or wear on the current molding. If it’s beyond repair, the old molding is carefully removed, often involving detaching various components connected to it. Once the damaged section is isolated, a replacement piece, precisely cut and shaped, is inserted, securing it with appropriate fasteners. The final step includes trimming and shaping the new molding to match the vehicle’s contours, resulting in a flawless finish that complements the overall aesthetics of the car and ensures optimal weather protection for the windshield.
Choosing the Right Materials and Techniques for Modern Cars
Choosing the right materials and techniques for modern cars is paramount when conducting a windshield molding replacement. Today’s vehicles are designed with advanced safety features, sleek aesthetics, and intricate details that demand precision during repair. Using high-quality, manufacturer-approved parts ensures compatibility and longevity. Additionally, understanding the latest adhesive technologies and sealing methods is crucial to maintain water tightness and structural integrity.
The process of windshield molding replacement involves intricate auto bodywork and collision repair techniques. Skilled technicians must employ laser cutting for precise moldings and state-of-the-art equipment for seamless integration with the vehicle’s existing structure. By staying updated with modern repair methodologies, professionals can ensure a factory-like finish, enhancing both safety and the overall aesthetic appeal of the vehicle.
Step-by-Step Guide: Replacing Your Vehicle's Windshield Molding Efficiently
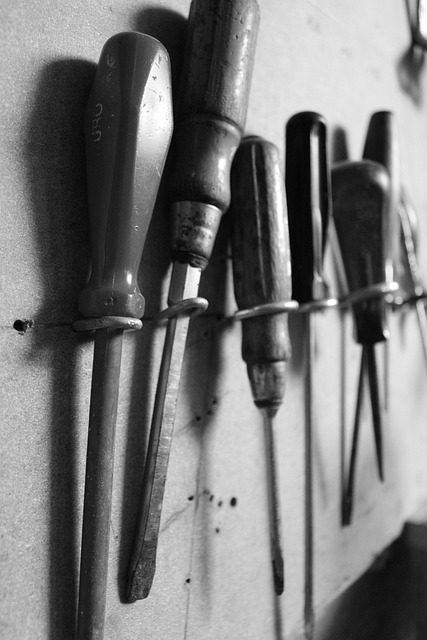
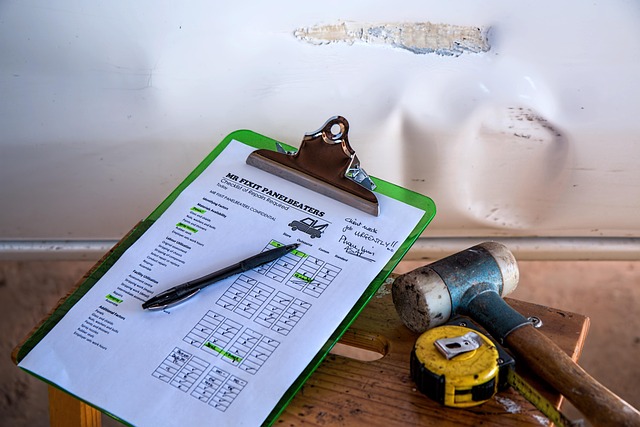
Replacing your vehicle’s windshield molding is a task that many car owners may find daunting, but with a systematic approach, it can be accomplished efficiently and effectively. Here’s a step-by-step guide to help you navigate this process with ease. First, gather all the necessary tools and materials, including the new windshield molding, a putty knife for removing old adhesive, and cleaning solutions to ensure a smooth surface. Next, begin by removing any existing trim or moldings around the windshield using appropriate tools; be careful not to damage surrounding parts. Clean the area thoroughly to eliminate dust and debris, as this can affect the adhesion of the new molding. Once ready, apply a bead of adhesive along the edge of the windshield where the molding will be installed. Gently press the new molding into place, ensuring it fits snugly. Use the putty knife to fill any gaps with additional adhesive for a secure fit. Let the adhesive dry completely according to the manufacturer’s instructions before adding any final touches or trim pieces.
For those considering DIY options, taking tire services and paintless dent repair courses can provide valuable knowledge. However, if you’re unsure or dealing with complex issues, it’s always best to consult a professional vehicle body shop for expert assistance in windshield molding replacement. This ensures precision, longevity, and peace of mind, knowing your car is in capable hands.
Windshield molding replacement is a crucial process that combines automotive expertise and modern materials. By understanding the basics, selecting appropriate components, and following a structured guide, you can efficiently replace your vehicle’s windshield molding, ensuring both functionality and aesthetics. This knowledge empowers you to navigate this procedure with confidence, enhancing your car’s overall appearance and performance.