


Windshield molding is a crucial car component that can suffer damage from various factors. Common issues range from cracks and breaks to warping and discoloration, requiring early detection for repair or replacement. This guide provides a DIY process for replacing windshield molding, emphasizing the importance of proper tools (like screwdrivers, putty knives, heat guns, and caulk guns), safety gear, and a matching molding kit. By following these steps, you can enhance your car's aesthetics, prevent water intrusion, and master an essential aspect of auto body repair without professional services. Focus keywords: windshield molding replacement.
Thinking of tackling your own windshield molding repair? This comprehensive guide is your starting point. We’ll walk you through understanding windshield molding, identifying common types of damage, and most importantly, step-by-step instructions for a successful replacement.
Whether you’re a seasoned DIYer or a complete beginner, by the end, you’ll be equipped with the knowledge to fix that cracked or damaged molding, ensuring a safe and sleek car interior. Let’s get started on your windshield molding replacement journey!
- Understanding Windshield Molding and Common Damage
- Steps for Windshield Molding Replacement
- Tools and Materials Needed for the Repair Process
Understanding Windshield Molding and Common Damage
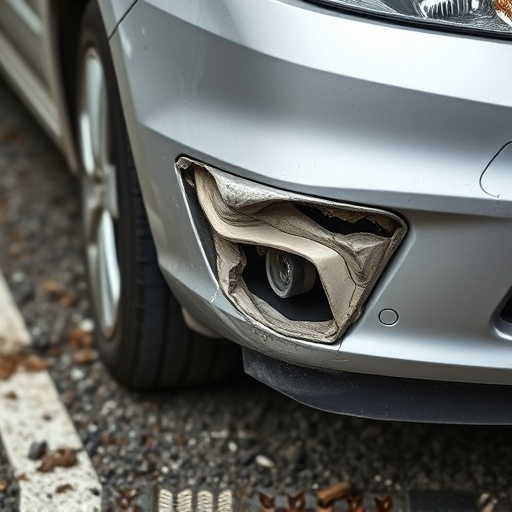
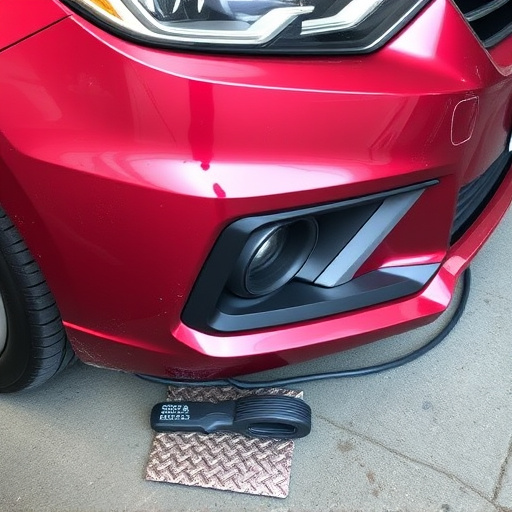
Windshield molding, also known as car door trim or surround, is an essential component that not only enhances the aesthetic appeal of your vehicle but also plays a crucial role in structural integrity and safety. It provides a seamless frame around the windshield, protecting it from road debris and offering a clean, polished look. However, this intricate piece can be prone to damage due to various reasons, including accidents, stone chips, or even simple wear and tear.
Common types of damage include cracks, breaks, warping, or discoloration. These issues can range from minor aesthetics problems to more serious structural concerns. For instance, a cracked or broken molding may compromise the windshield’s seal, leading to potential water intrusion and interior damage. Therefore, timely attention is vital. Understanding the extent of the damage is crucial before considering whether to repair or replace the windshield molding, which can be as simple as an auto dent repair or involve more intricate tasks such as auto painting for a complete restoration.
Steps for Windshield Molding Replacement
Replacing your car’s windshield molding is a straightforward process that can be accomplished with the right tools and a few simple steps. First, gather all the necessary materials, including the new molding, adhesive, and any primers or sealants. Then, carefully remove the old molding by loosening it with a suitable tool, such as a plastic pry bar or a heat gun. Once the old molding is removed, clean the surface thoroughly to ensure proper adhesion of the new piece.
Next, apply the adhesive along the edge of the opening and fit the new molding into place. Use clamps or tape to hold it in position until the adhesive sets. After the adhesive has cured according to the manufacturer’s instructions, remove any excess material and apply a sealant for added protection against water and debris penetration. With these steps followed correctly, you can easily replace your windshield molding, enhancing both the aesthetic appeal and functionality of your vehicle, without needing extensive auto repair services or even considering car dent repair in most cases.
Tools and Materials Needed for the Repair Process

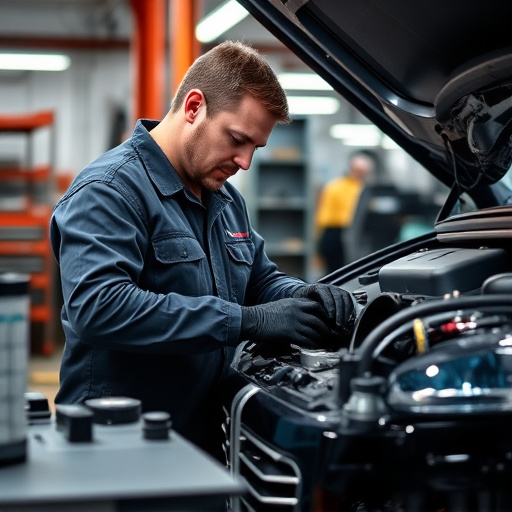
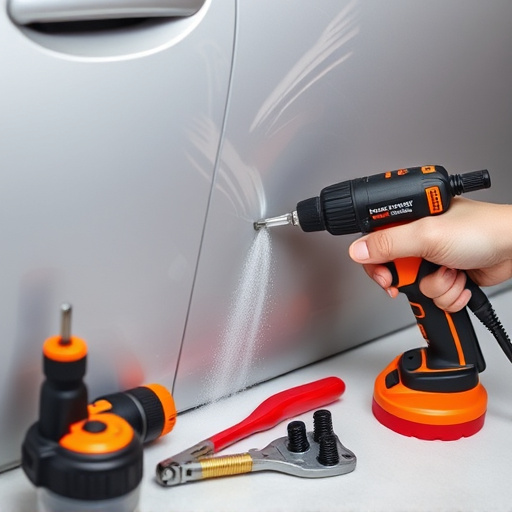
Before beginning your windshield molding replacement project, it’s essential to gather all the necessary tools and materials. This includes a variety of specialized equipment tailored for precise and effective auto body painting and repair. You’ll need a set of screwdrivers (both flathead and Phillips) for securing components, a putty knife for removing old caulk or debris, and a new windshield molding kit that matches your car’s make and model. Additionally, prepare safety gear such as gloves and safety glasses to protect yourself from sharp edges and small particles during the repair process.
For successful completion of your windshield molding replacement, consider having a few essential automotive repair tools on hand, like a heat gun for softening old adhesive, a vacuum cleaner to remove dust or debris, and a high-quality caulk gun for applying new sealant. While these tasks might seem daunting initially, with the right equipment and some basic knowledge, you’ll be well on your way to mastering this aspect of auto body repair, ensuring your car looks as good as new.
For complete beginners looking to tackle windshield molding repairs, understanding the basics of common damage and simple replacement steps is key. By familiarizing yourself with the process, you can confidently address minor issues and even perform a windshield molding replacement if necessary. With the right tools and materials on hand, as outlined in this guide, you’ll be well-equipped to protect your vehicle’s interior and maintain its aesthetic appeal. Remember, proper repair techniques ensure not only structural integrity but also preserve the overall value of your car. Now that you’re armed with knowledge, take a dive into the process and keep your windshield looking pristine.